

Since my last post I have not had much time for photography as I wanted to try and get all the hides in place before the year was out, I thought I had it covered with the light reaching into the wood but as the year progressed and the sun when it made an appearance so low in the sky the hides I had previously built where at times partially shaded, so with this new and hopefully last hide I can get the last rays of sun before it sinks in the sky.
As I write this blog we have had the shortest day so in theory each day gets slightly longer that is until the clocks change anyway.
Below is the location for the new hide, its about 40 mtrs in front of the main hide giving a slightly different angle to the sun giving it an hour or 2 of more daylight in the winter months.
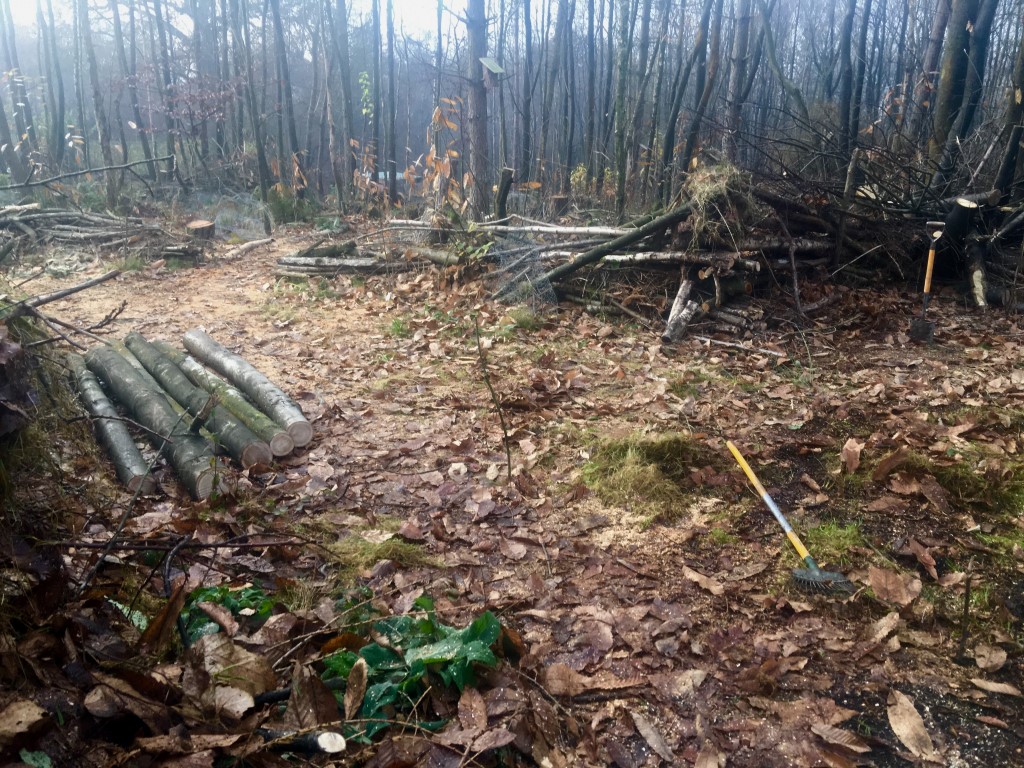
SITE FOR NEW HIDE
Planks previously cut ready for new hide.

Planks cut with chainsaw
Again I have sunk seven chestnut post into the ground about 18inch deep the basis of all my hides, they don’t have to be perfectly straight as long as I can get a fixing into the post and get the bits that need to be level right.
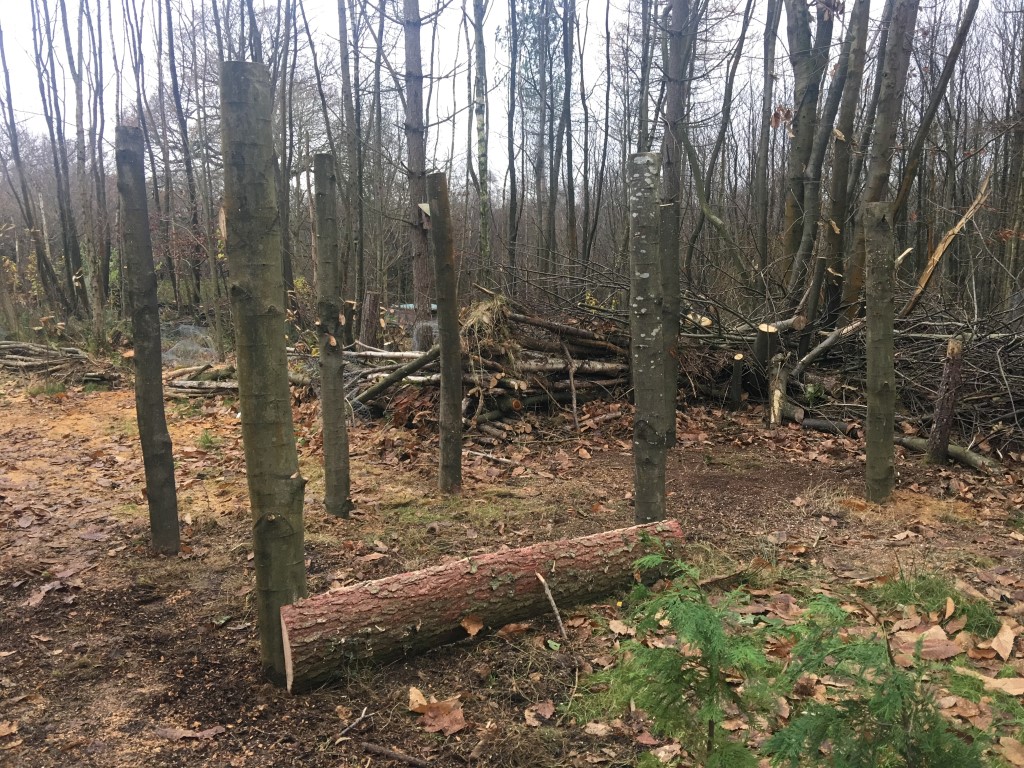
POST SANK AND FIRST PANEL ON
Now starting the cladding, made out of Larch and started to level the front board which will form the hide shelf.

FRONT AND SOME SIDE PANELS
You can see now its starting to take shape and I have painted the front, not to protect the wood even though it will but to make it blend in more with its surroundings.

FRONT LEVELLED AND HIDE SHELF’S FORMED
You can see now that I have created another window facing to the west and I am hoping to get some morning light in this area.
All the boards are on and I have cut loads of roof struts again all with the chainsaw and fixed these in place.
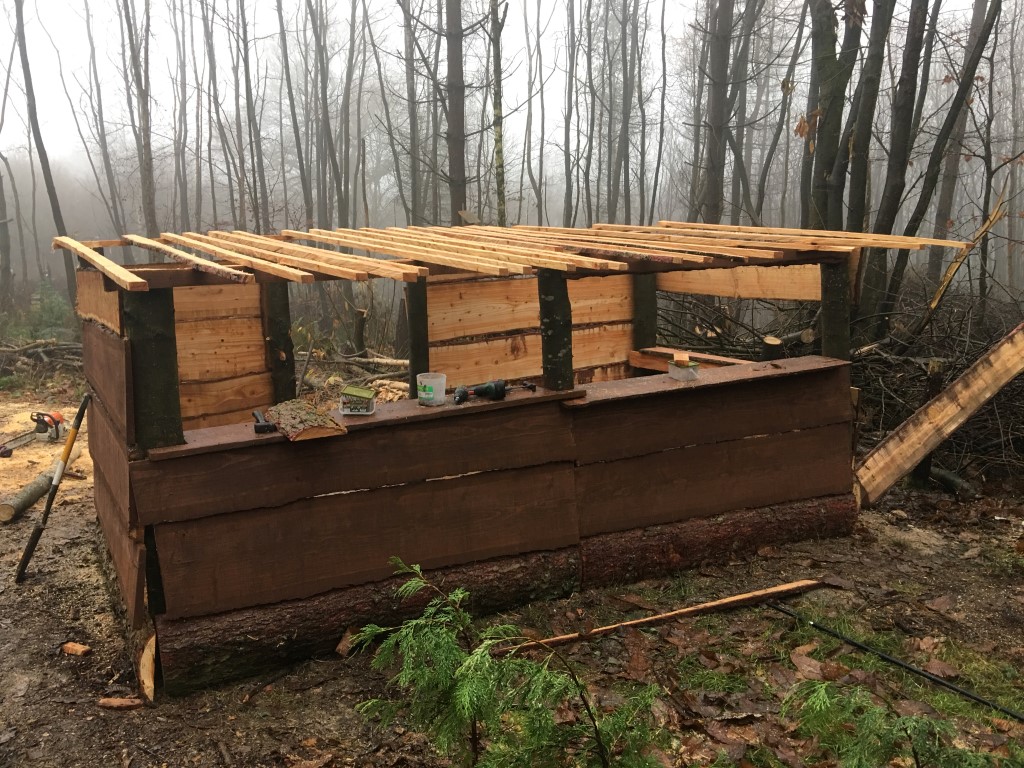
ROOF STRUTS ON AND SIDES CLADDED
The roof is created with heavy duty plastic the sort they use for a damp proof membranes under concrete floors so should give a few year wear unless it get punctured some how, its also not effected by sunlight which is handy.
I have formed a box gutter system into the roof which is a new idea I thought of which will run into a barrel or if I can get it to work some sort of pools to get the birds drinking bathing etc but not sure how yet, ideas in progress.

ROOF ON AND BOX GUTTER FORMED
This is the hide from a distance on a misty morning, I have created a hedge from all the trees I have thinned and hopefully get plants to grow up and through it later.
Camo netting has been fitted to the windows inside and I have build 3 new bench seats, all I have to do now is landscape the exterior.

VIEW SHOWING NEW FENCE LINE TO RIGHT HAND SIDE OF HIDE
View from the hide, quite open at the moment but will change soon.

VIEW FROM HIDE

VIEW FROM HIDE
Well that’s it for now with this hide and I am about to start building a load of new nest boxes and with the offcuts I will start on the water feature on the new hide.
I’m of on holiday soon so trying desperately to get all these jobs out of the way so when I get back I can starting thinking about planting of the new butterfly garden, boy do I need a break, what’s also ironic is that I was terrible at woodwork at school but without anybody breathing down my neck I can I seem to enjoy the creation of hides and habitats and enjoy watching it develop, I might even get my camera out soon.
Bye for now and a merry Christmas and New year to everybody who has supported me so far by visiting Millers wood, a big thank you to you all.
John
Leave a reply